diy stickers
 |
| inverted hello |
20 sheets of address labels was a recent find at my local second-hand store. Originally I was going to make my own address labels, but then it dawned on me that I could make some stickers.
Rather than make them using a jpeg and my printer, I decided to paint them using acrylics and my handmade stamps and stencils. Below is a quick tutorial of how I did this.
 |
| applying a thin layer of gesso |
Here is what I used to make these stickers:
- a sheet of self-sticking, clear labels
- gesso
- acrylic paints
- stencils
- stamping inks
- linocut stamps
So let's begin!
First, I applied a thin layer of gesso.
To keep it spreading thinly, I added a bit of water as I brushed on the gesso.
 |
| stenciled circles and blotting with tissue paper |
Next, I stenciled shapes onto the gesso using yellow acrylics. To aid in drying, I took off the excess paint with a sheet of tissue paper.
side note: Using tissue paper as a blotter will leave the tissue paper with varied colors and patterns which can be used later in collages.
 |
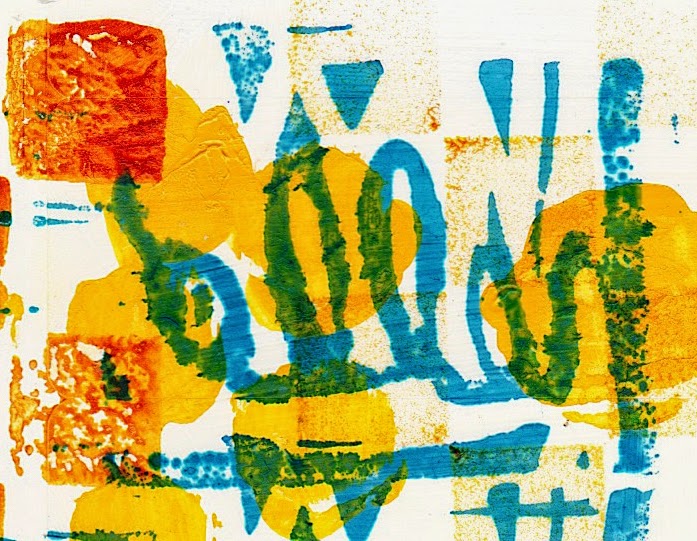
| sheet of finished label stickers |
Next, I used various stamps with acrylics and stamping inks. Can you read what it says? I have several failed stamps where I forgot to carve the mirror image of the word. I have saved them to use as embellishments.
 |
| postcard with sticker and artistamp |
Since some of the stamping inks I used were not waterproof, I sprayed the sheet of labels with a fixative. Now they are ready for my mail art. Since the labels are clear, anything under the label will still show through, so I can use them in journal pages as well.
Here's to another creative week!
joining sunday sketches
